by Eddy Van Damme on June 24, 2013
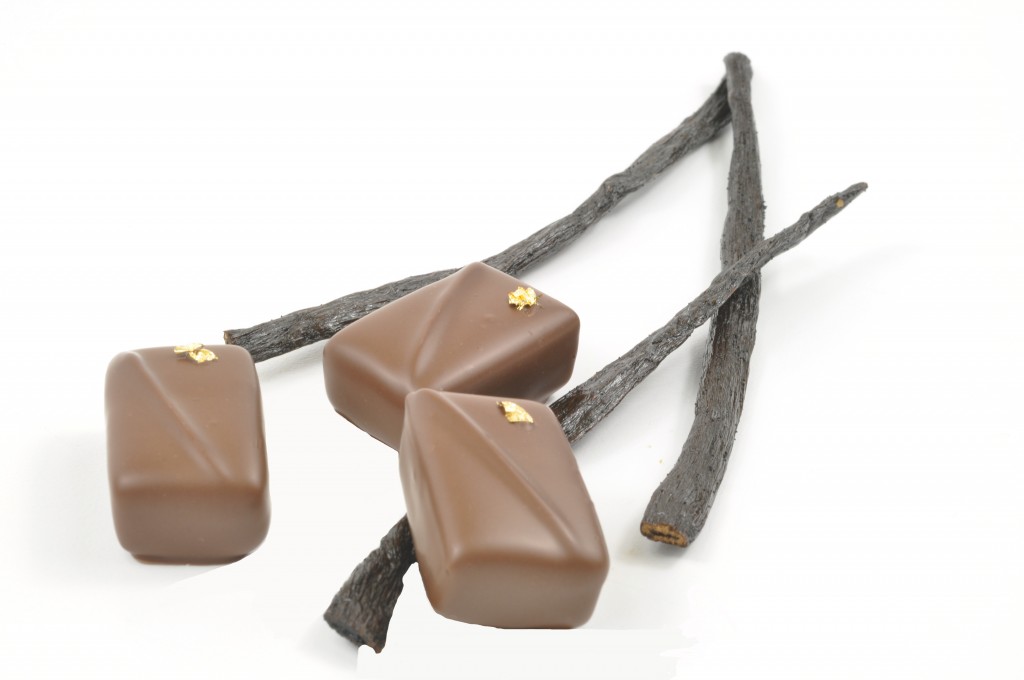
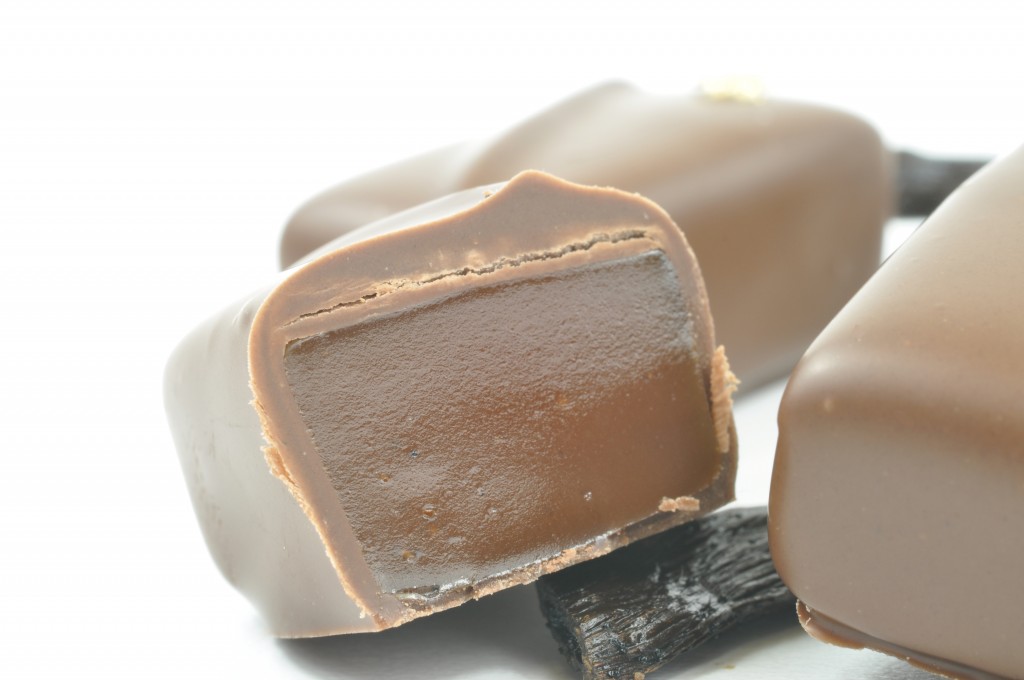
Caramels are much desired the world over and can be made in many different flavors. While vanilla and chocolate are the most popular ones, coffee pairs exceptionally well with the buttery tones of caramel.
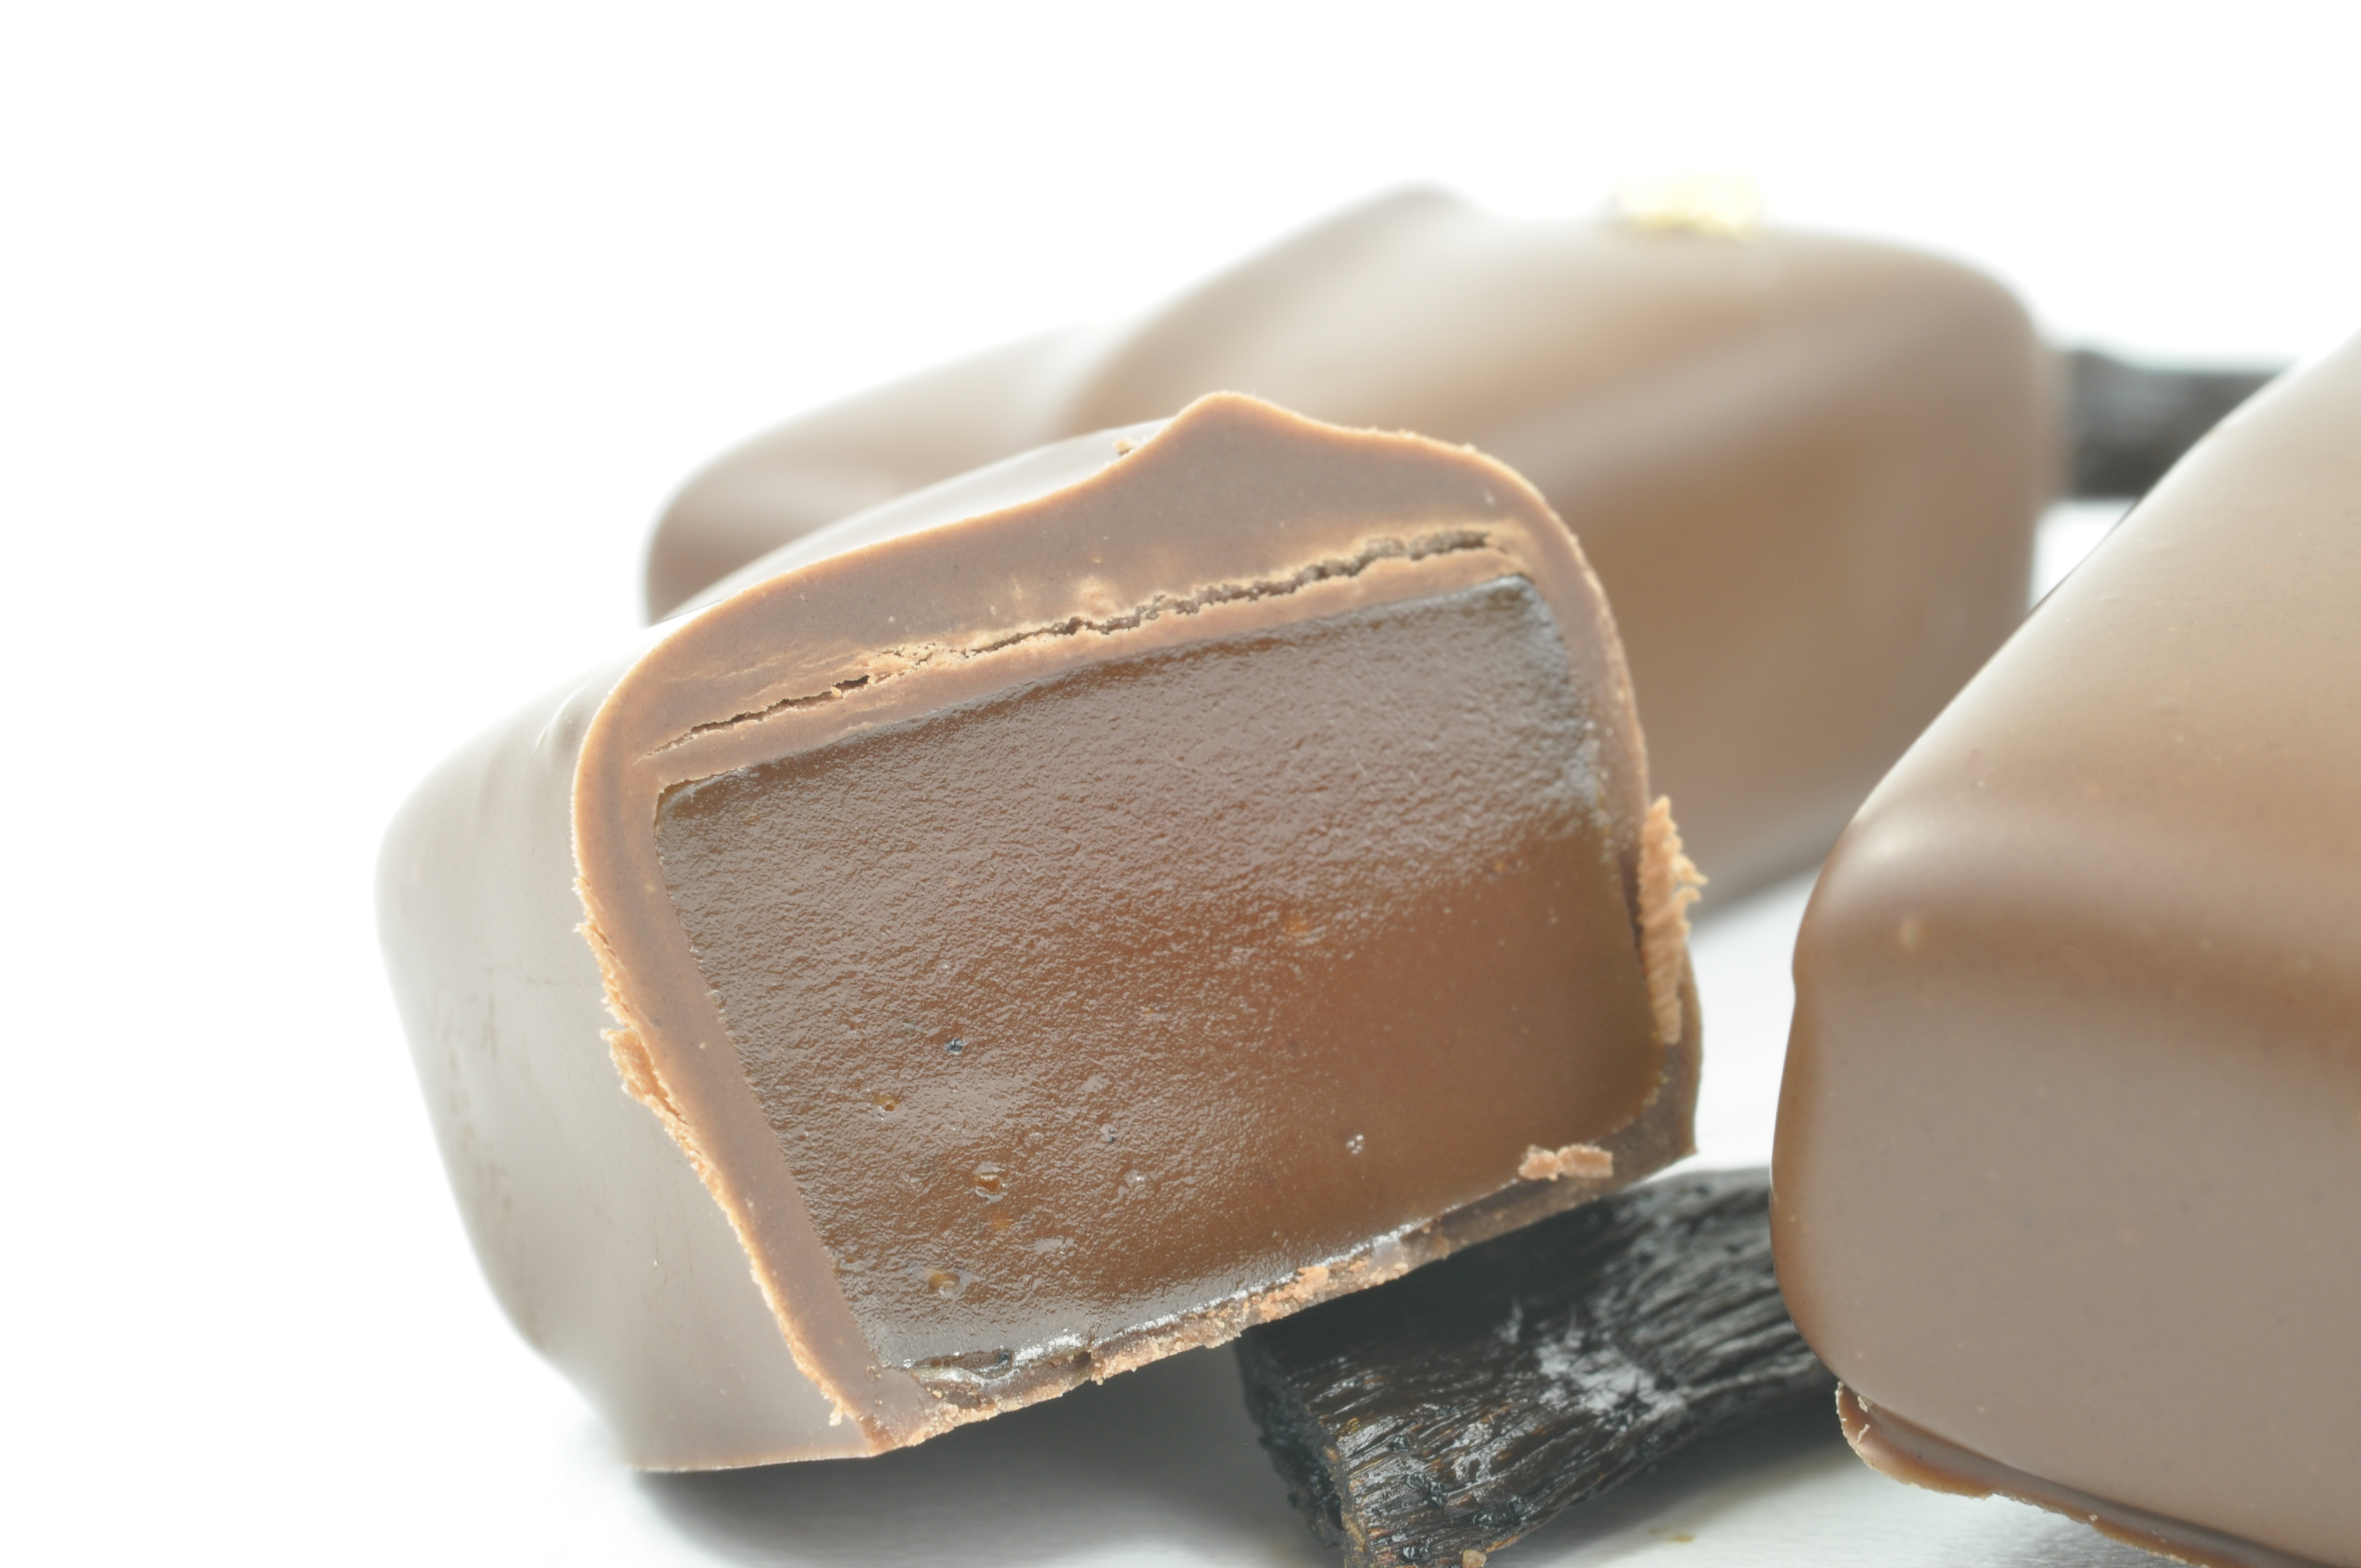
The coffee caramels can be wrapped in cellophane as shown in On Baking, or can be dipped in milk or dark chocolate couverture and finished with a touch of fleur de sel, if so desired.
Coffee Caramel
A chewy caramel that does not stick to teeth.
|
|
|
|
|
1 x recipe |
Caramel candies, On Baking 3, page 730 |
1 x recipe |
|
1.5 oz |
Coffee extract |
45 g |
|
|
|
|
| |
|
|
|
|
|
|
|
- Prepare recipe as indicated. Add coffee extract at 245F (118C). Cook further until caramel reaches 245F (118C) again. For a firmer caramel cook a few degrees higher.
by Eddy Van Damme on May 20, 2013

Truffles can be made either by using heavy cream, chocolate and a sweetener or are made with butter, chocolate and a sweetener. Both can be delicious and have their own distinct characteristic. If you desire to make truffles with well pronounced flavor (from liquor, extracts, tea, coffee etc) then butter based truffles may be a good choice. The creamed butter mixture, which is consequently light and airy makes it possible for flavors to really shine through, which can be a challenge when using bitter chocolate.
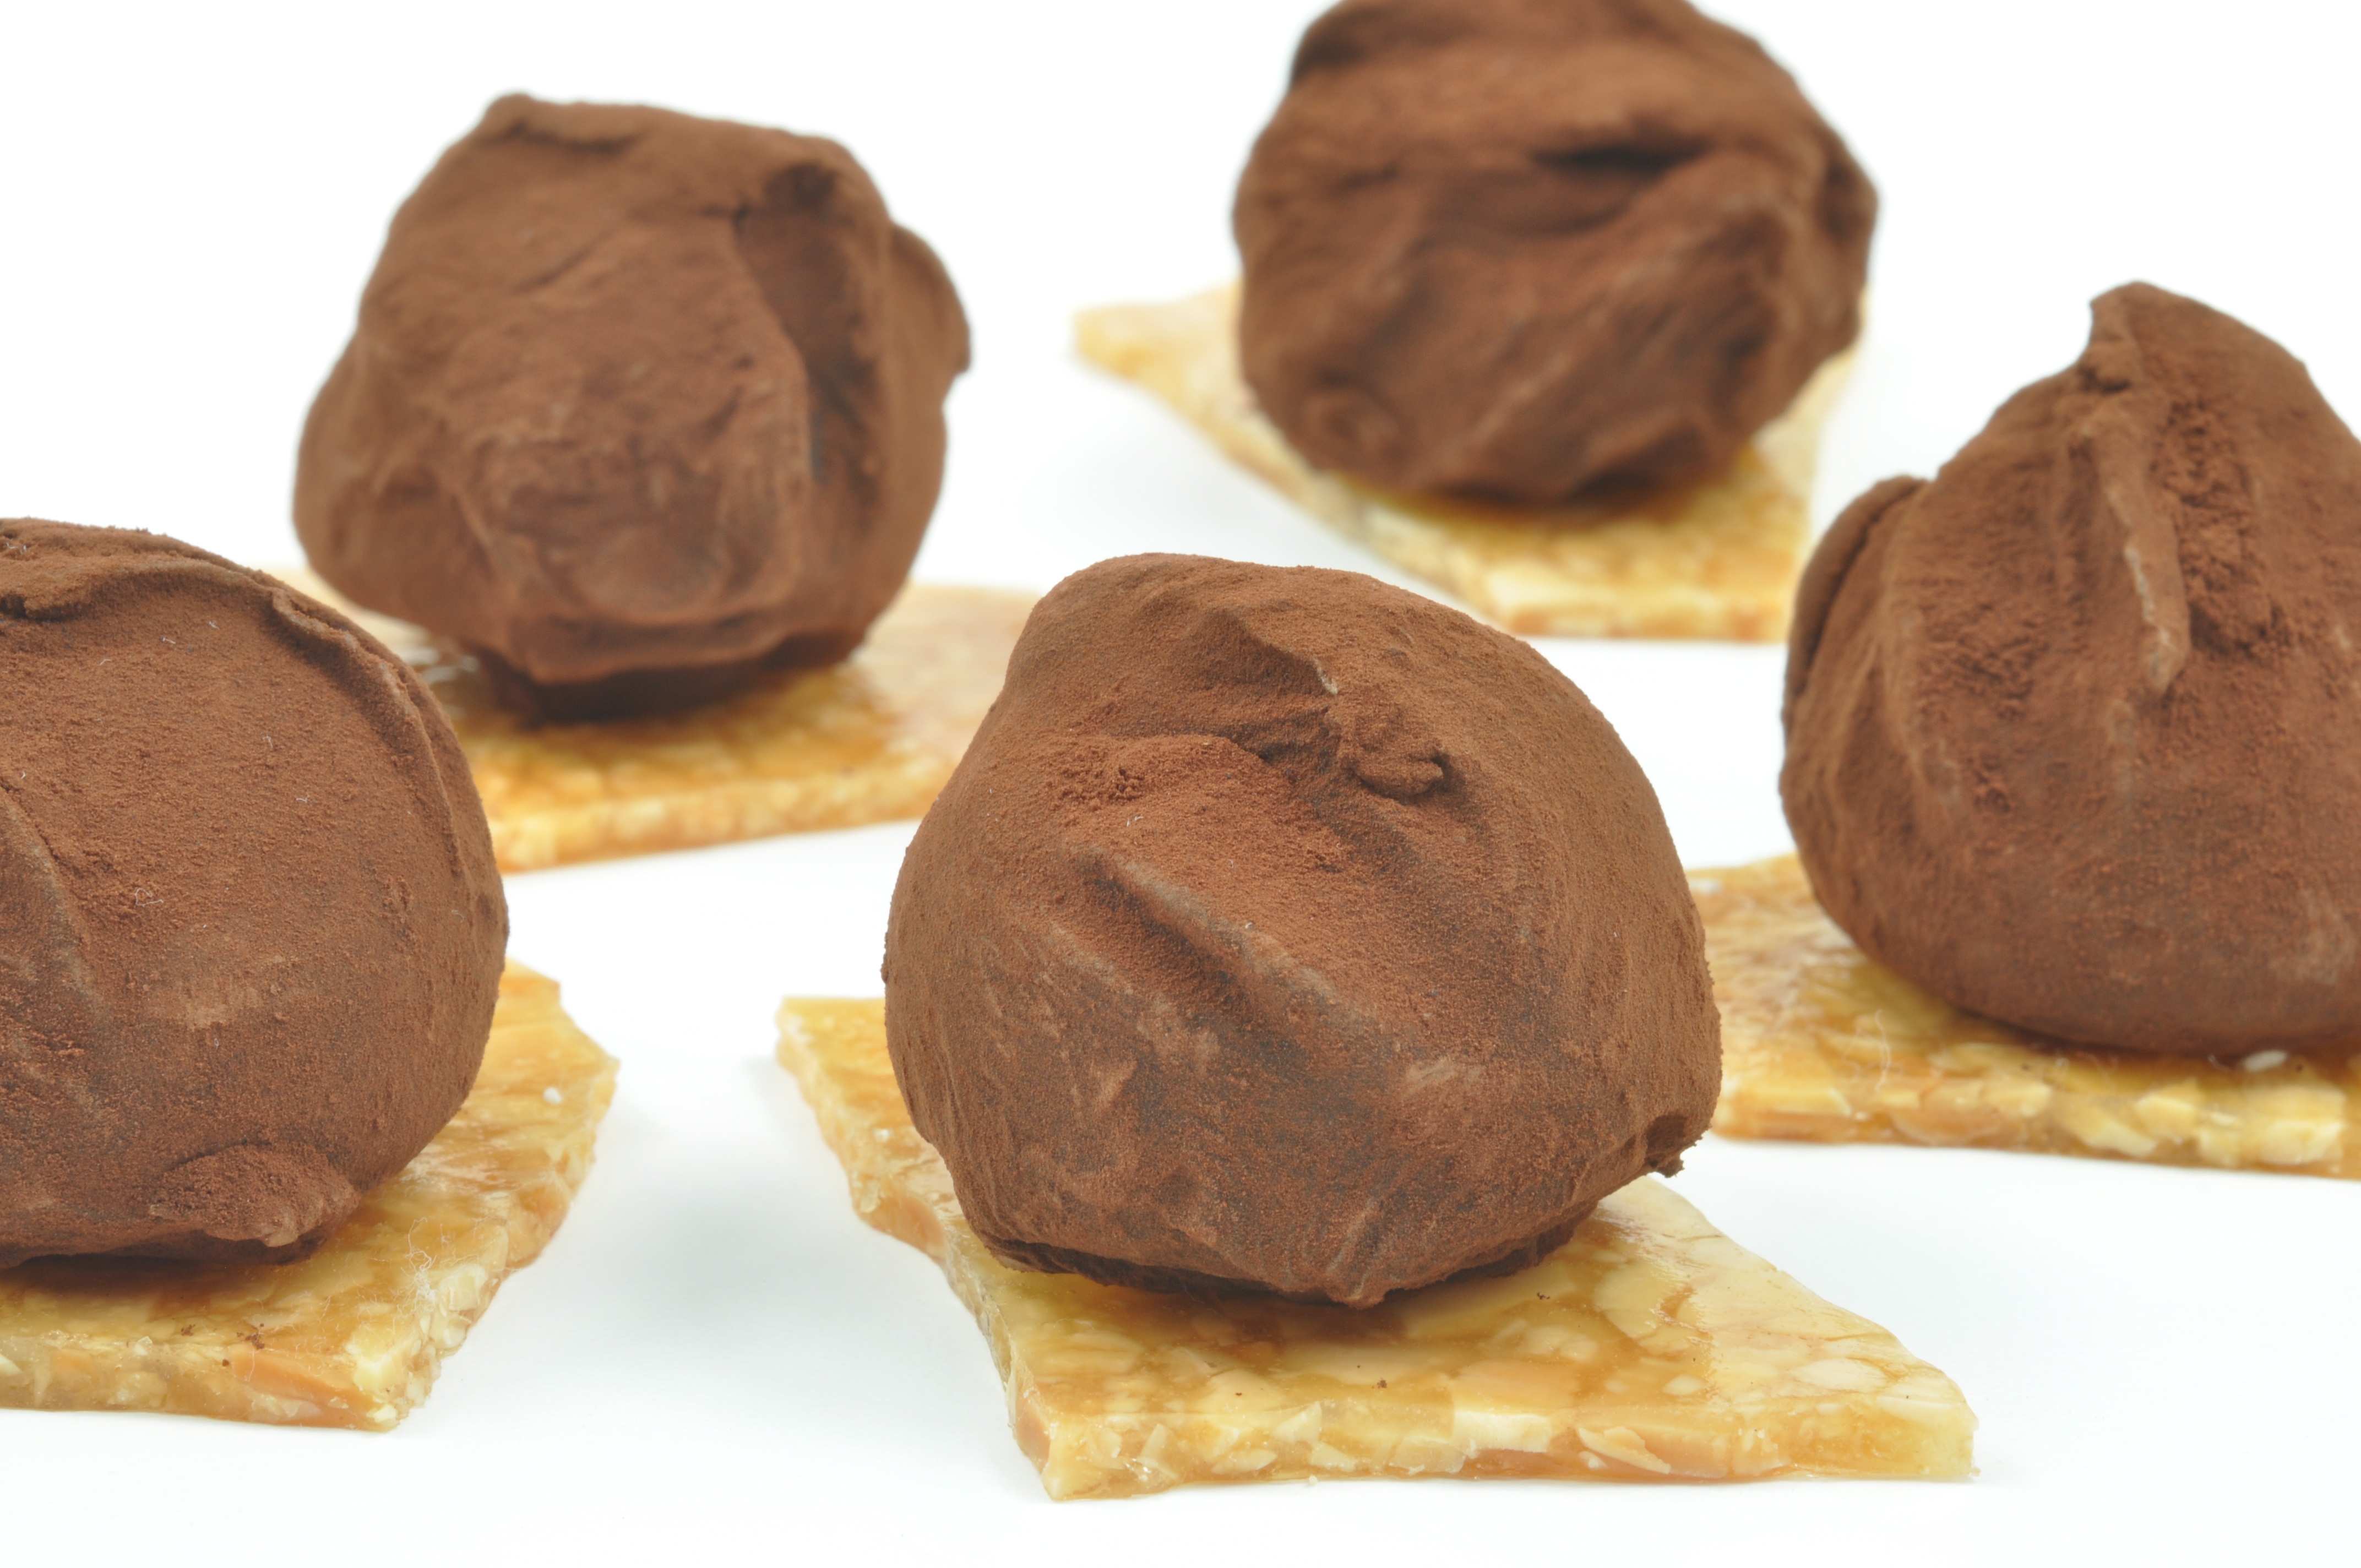
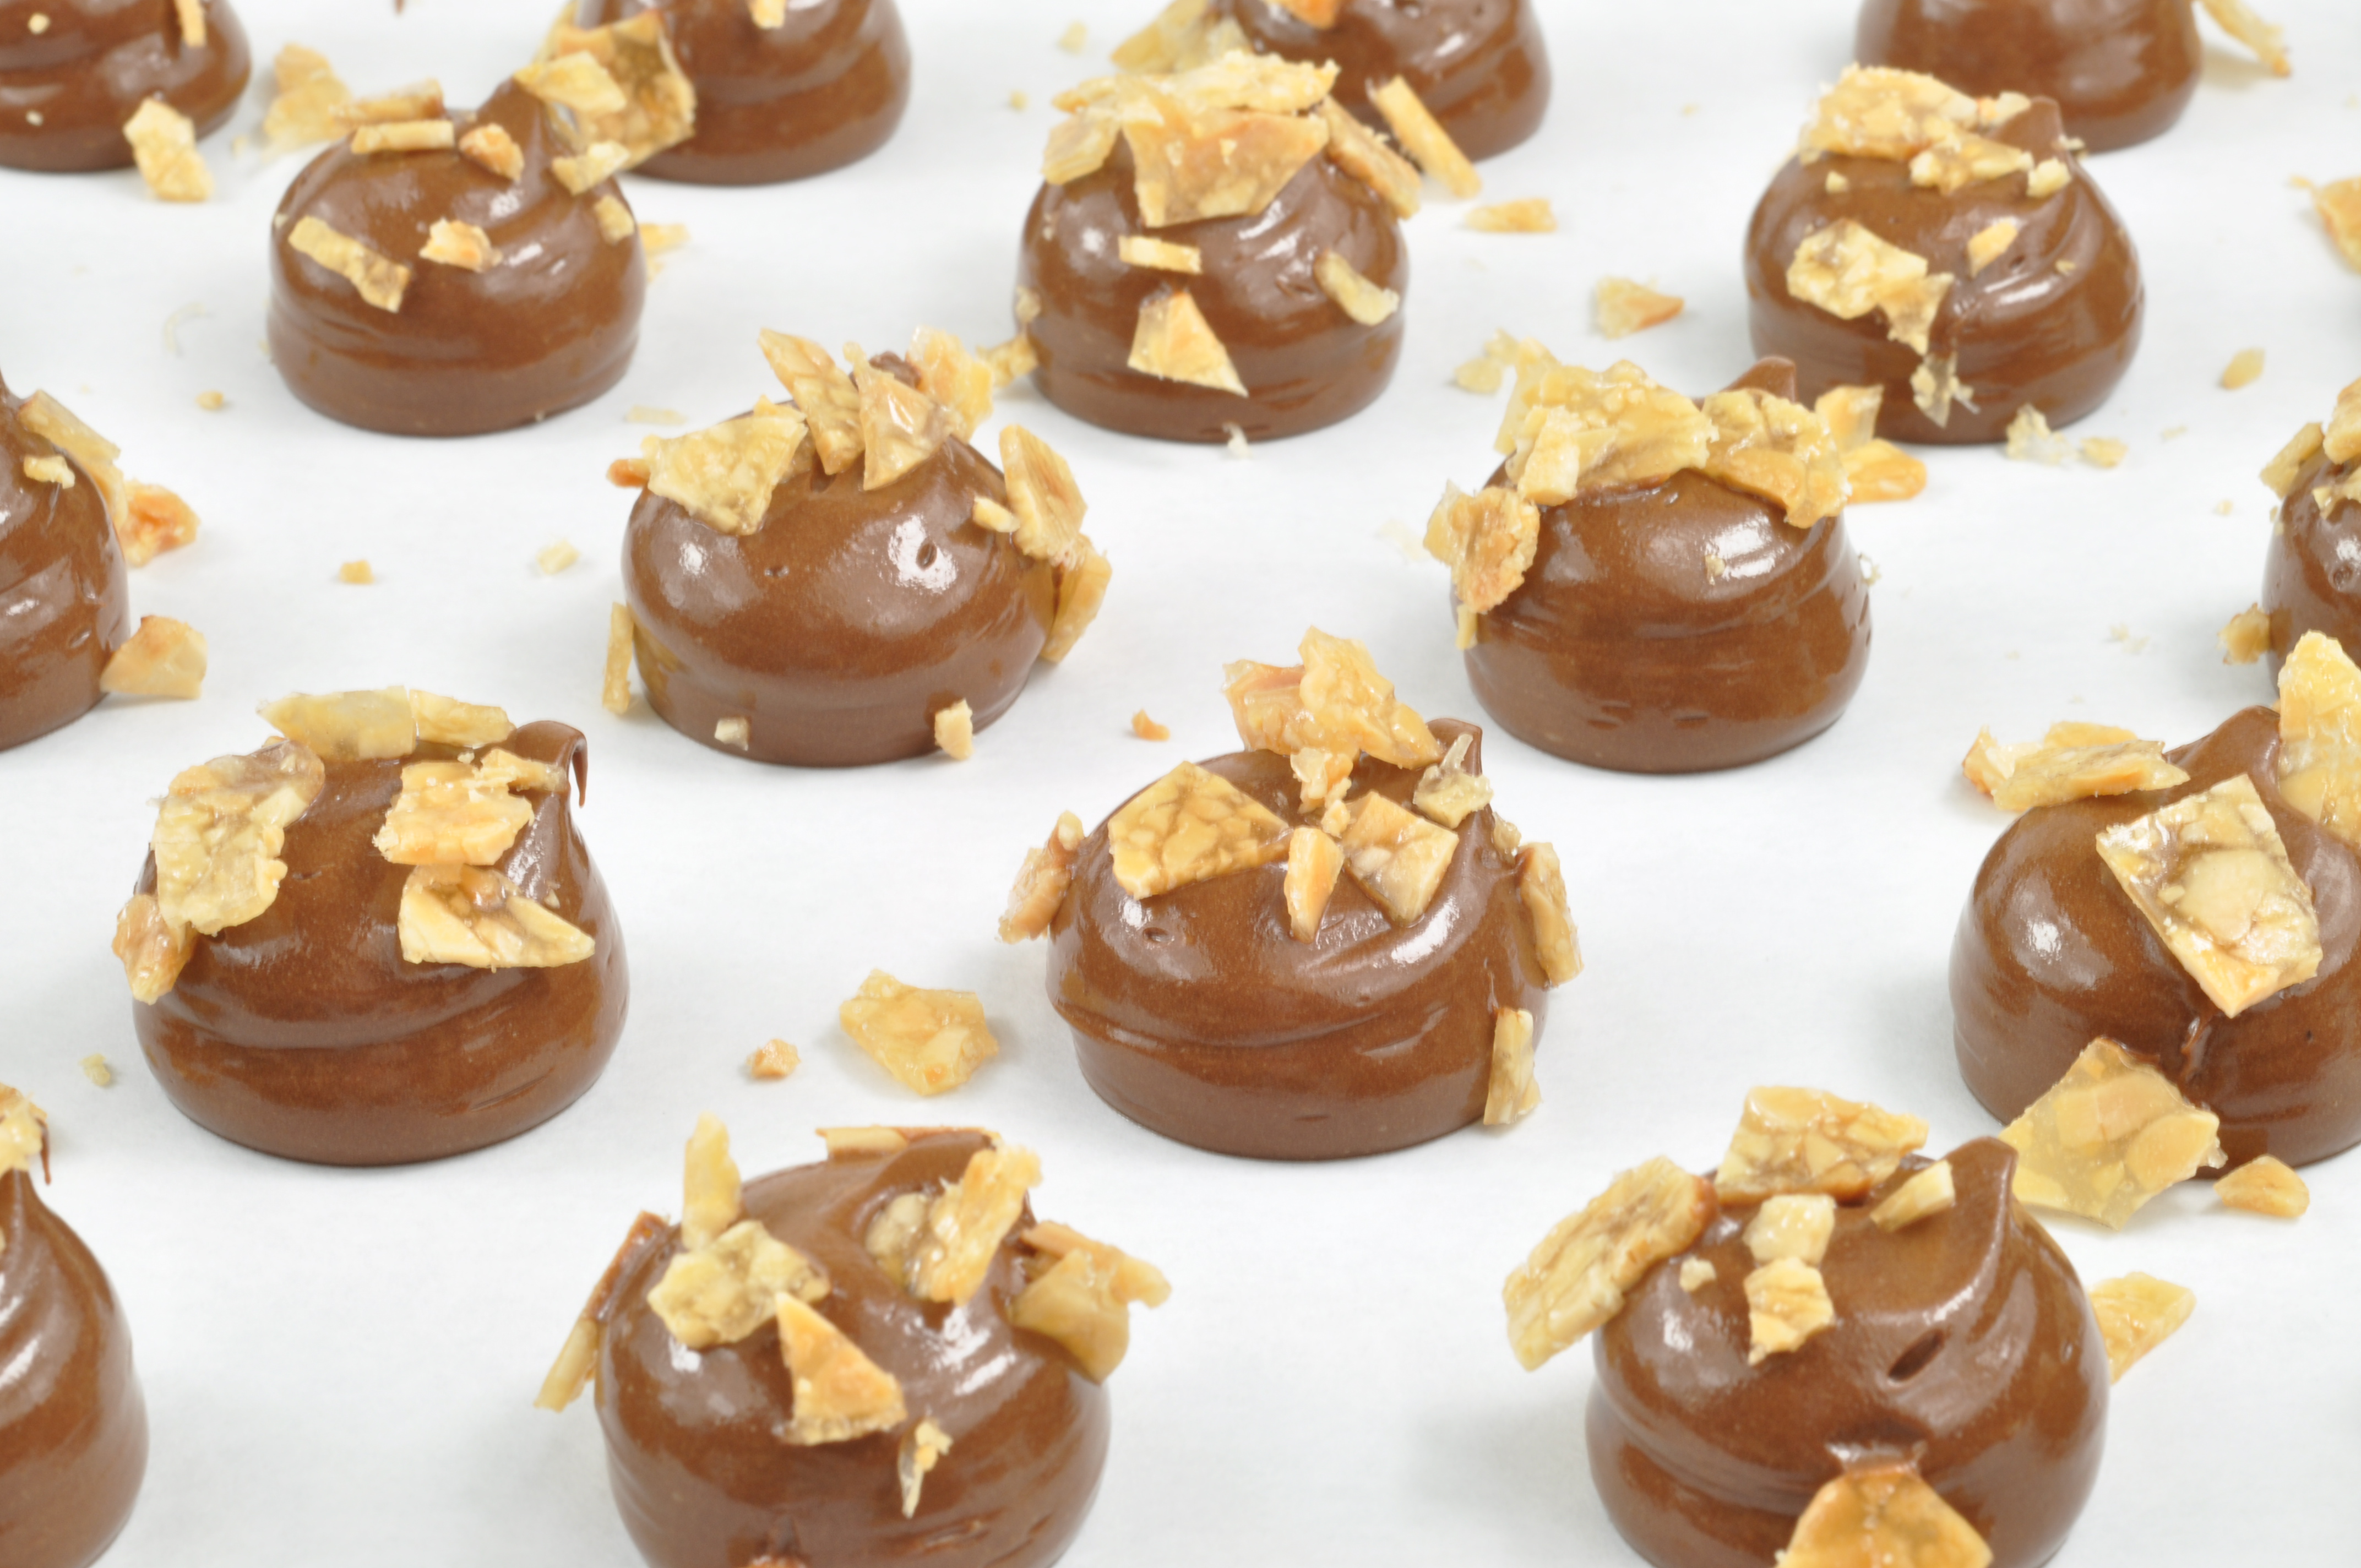
These truffles are flavored with homemade coffee extract and sprinkled with nougatine.
Artisanal Belgian Truffles | Coffee Nougatine
Yield: 60 truffles
|
|
|
|
|
8. 5 oz |
Unsalted butter, best quality |
250 g |
|
3 oz |
Invert sugar |
90 g |
|
10 oz |
Dark Chocolate couverture (54%) |
300 g |
|
7 oz |
Milk chocolate (38% cocoa) |
210 g |
|
1.5 oz |
Coffee extract |
45 g |
|
1 oz |
Coffee liquor or dark Rum |
30 ml |
|
1 lb 8 oz |
Dark Couverture (54%-64%) |
750 |
|
|
|
|
|
|
|
|
|
|
|
|
|
|
|
|
| |
|
|
|
| |
|
|
|
- Mix butter until creamy, add invert sugar and cream more.
- Melt first listed dark and milk chocolate to 95°F (34°C) and at this temperature to creamed butter. Mix well and add coffee extract and liquor and mix until combined.
- Let mixture set for approximately 30 minutes or until crystallization starts to take place.
- Pipe into even mounds. Sprinkle with very thin rolled pieces of nougatine. Do not place the truffles in a refrigerator. Let set in a cool area until fully crystallized, about 2 hours.
- Temper couverture chocolate as shown on this site and dip truffles, drop onto quality cocoa powder.
- Carefully roll the dipped truffles into cocoa powder ensuring not to stick the fork into the truffle itself.
- When firm shake off extra cocoa powder and place in a refrigerator. Serve at room temperature for full flavor experience.